How To Manually Add A Camera Via Surveillance SoftwareUpdated 5 months ago
Purpose of The Guide
This guide will show you how to manually add your Gamut camera or recorder, using a Windows or Mac computer.
Before You Begin
Your Gamut device will need to be turned on and connected to your internet router. You will need to use a TV to set up the recorder for the first time, follow the quick start guide to do so. After the initial setup, a TV or monitor is not necessary when accessing the recorder via a network connection.
If you are using a Wi-Fi bridge system with your camera, make sure that the bridges are turned on, wired correctly and communicating before you begin.
Let’s Get Started
Now that you have connected your recorder/camera to your internet router and turned it on, you will be able to view it using a program called Surveillance Client.
The first step to this is getting it added to the software so it can be viewed, to do this please follow the below steps.
Once you have the software installed run it and you should have the below screen appear.
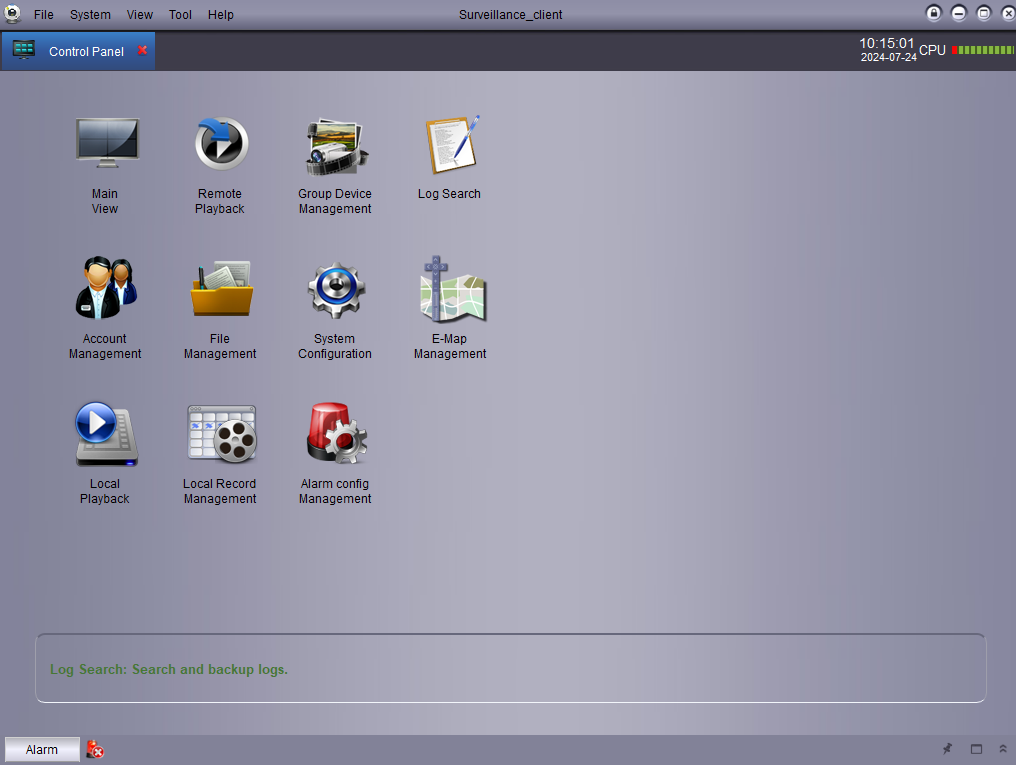
On the above screen you will want to click on "Group Device Management" which will then change the panel to look like below.
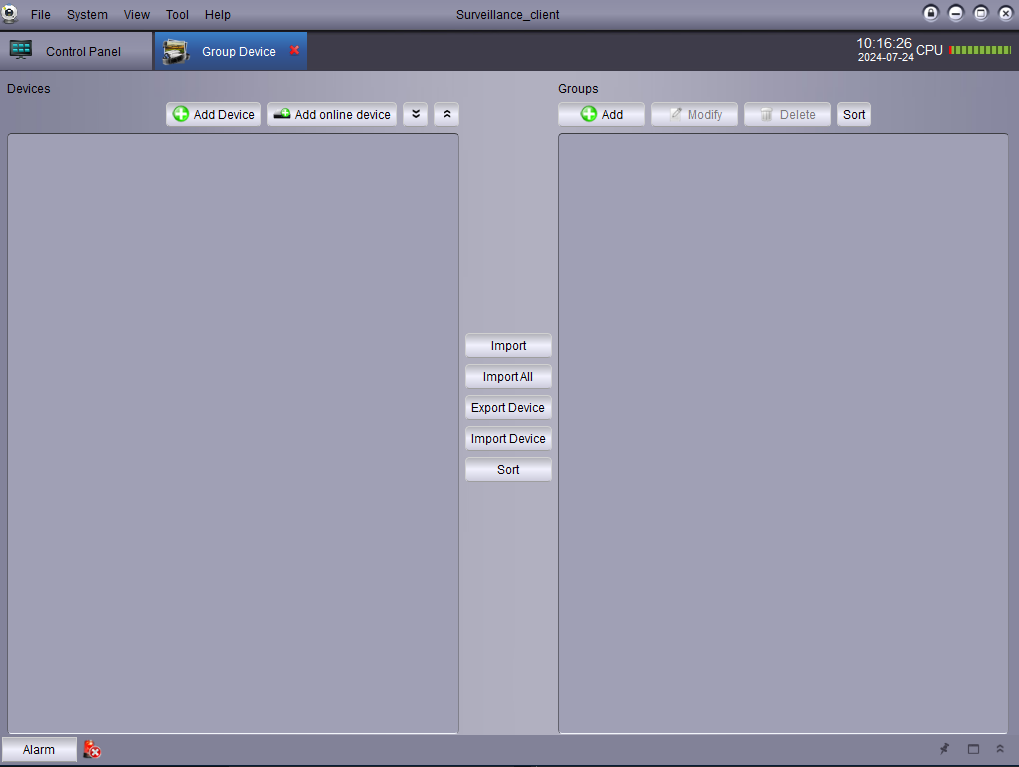
On here if you click on "Add online device" which is on the left side of the screen, it will load up a new window where it should show any cameras active on your network.
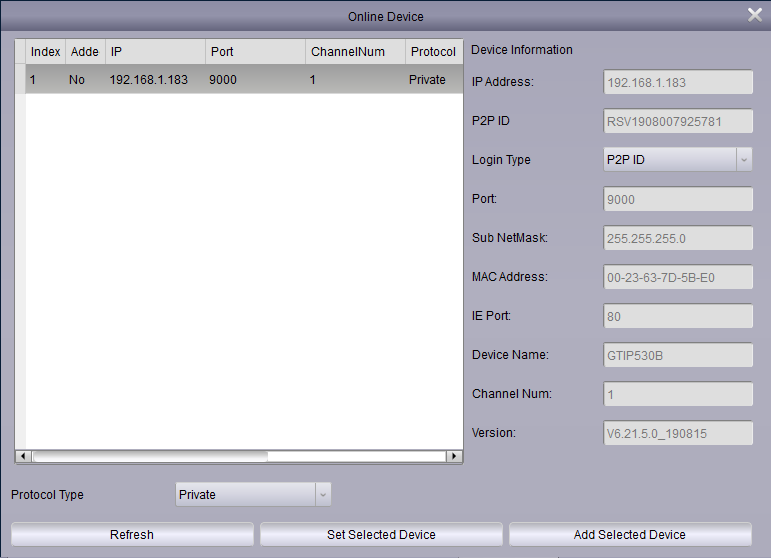
If you select the camera/recorder that you wish to add and then click on "Add Selected Device" in the bottom right, it will then ask you to input some details.
Device Name: This can be whatever you want to call it
IP/ID should be auto filled
Media Port: Should be auto filled
User Name: Default for this is admin unless you have changed it
Password: If you have set a password on the device input it here, otherwise the default may be blank or admin
Once added it will revert to the "Group Device" screen where it should show your added device on the left, the next step is to create a group to add it to, on the right part of the panel click on the "add" button and give the group a name.
Once this is done you can then click the camera/recorder in the left panel and click the import button in the middle to add the camera for viewing.
At this point you should be able to go back to the main screen by clicking on "Control Panel at the top and then select "Main View". You will be presented with the below screen.

On the left of this screen it will show any added groups/cameras/recorders, if you double click on the camera/recorder it will then start the live view for you, if you only have 1 device then you can set the screen to only show 1 window by clicking on the black box on the bottom row of icons and choosing the layout you would like.
If you are not using one of our cameras you may need to change the port which will be dependent on the manufacturer.
Need more help?
If you need help with anything else please check out our other guides or get in contact.